All DIY Guides
DIY Guide
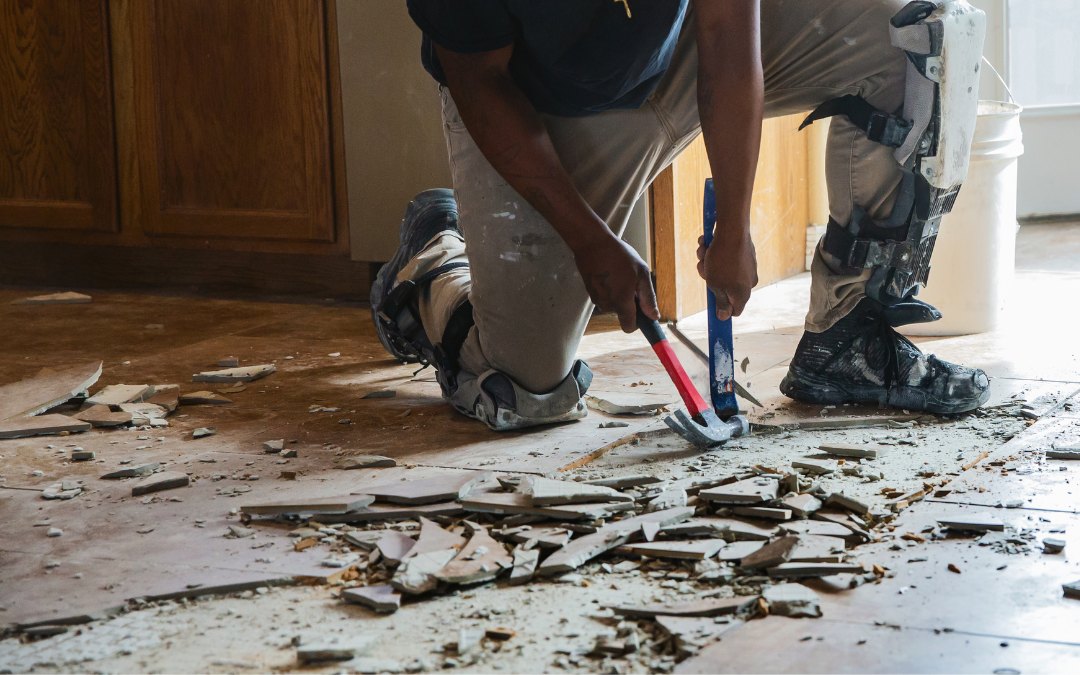
Why Use a Self-Propelled Floor Stripper – Practical Guide
DIY Guide
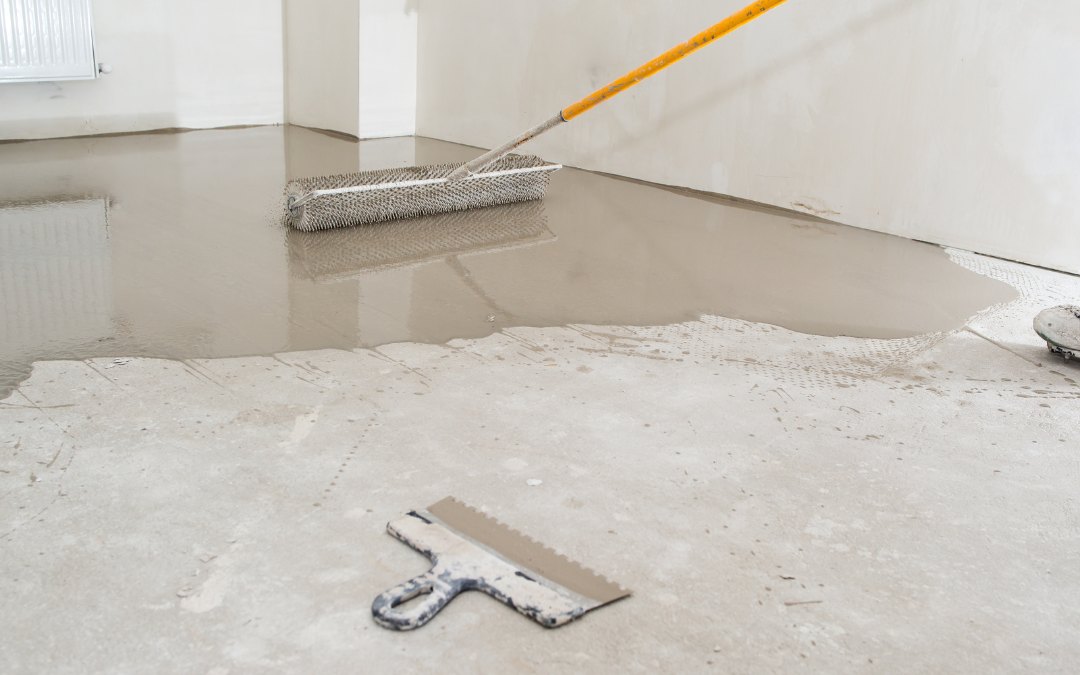
Choosing the Right Grout Pump
DIY Guide
How Shotblasting Works – DIY Guide for Concrete Floors
DIY Guide
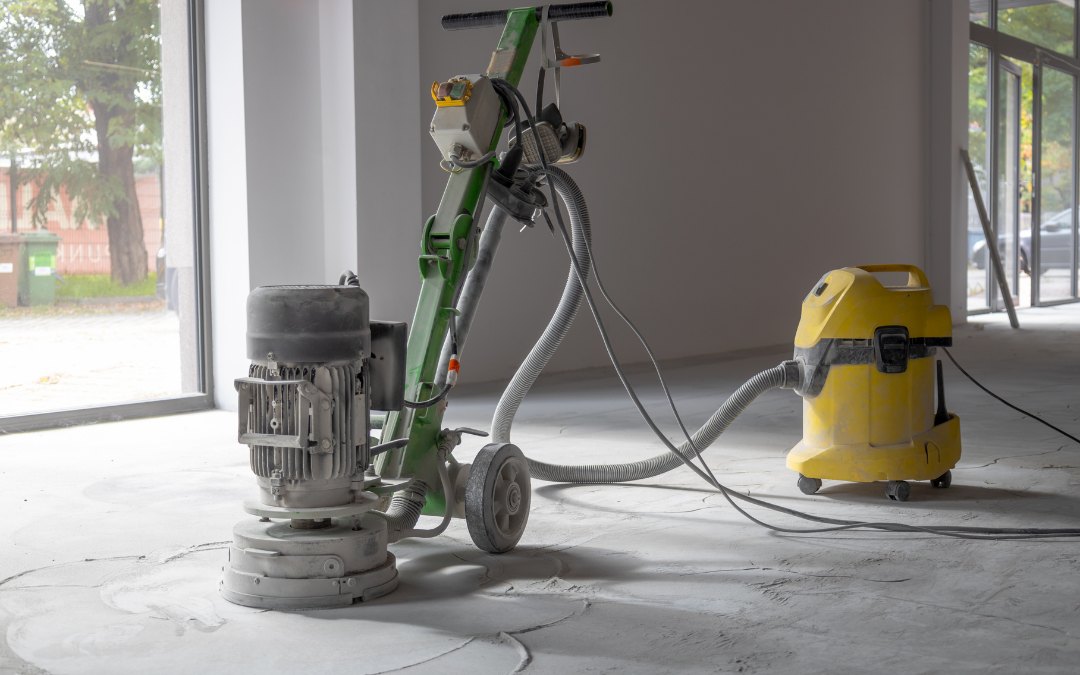
How to Hone a Concrete Floor – DIY Guide for Home Projects
DIY Guide
How to Choose Between Concrete Grinders and Polishers – DIY Guide
DIY Guide
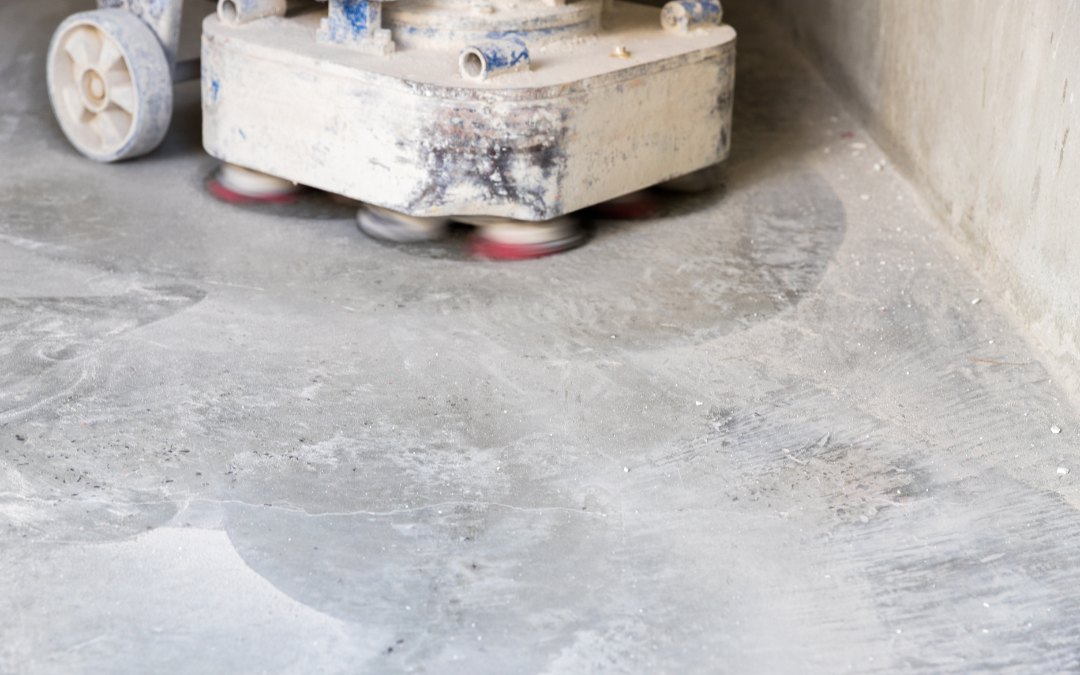
How to Grind a Concrete Floor – DIY Guide
Showing 6 out of 9 DIY Guides