How to Hone a Concrete Floor – DIY Guide for Home Projects
Honed concrete is a popular choice for home renovators who want a smooth, modern finish without the high-gloss look of polished concrete. It’s durable, easy to clean, and safer underfoot, especially in areas like patios, garages, and sheds. The good news is, you can achieve a professional-looking honed surface yourself with the right tools and a bit of patience.
Step-by-Step Concrete Floor Honing for DIY Projects
Honing is the process between grinding and polishing. It smooths the surface using finer abrasives, producing a low-sheen, matte finish that’s perfect for residential spaces. The steps below will help you hone your concrete floor safely and effectively at home.
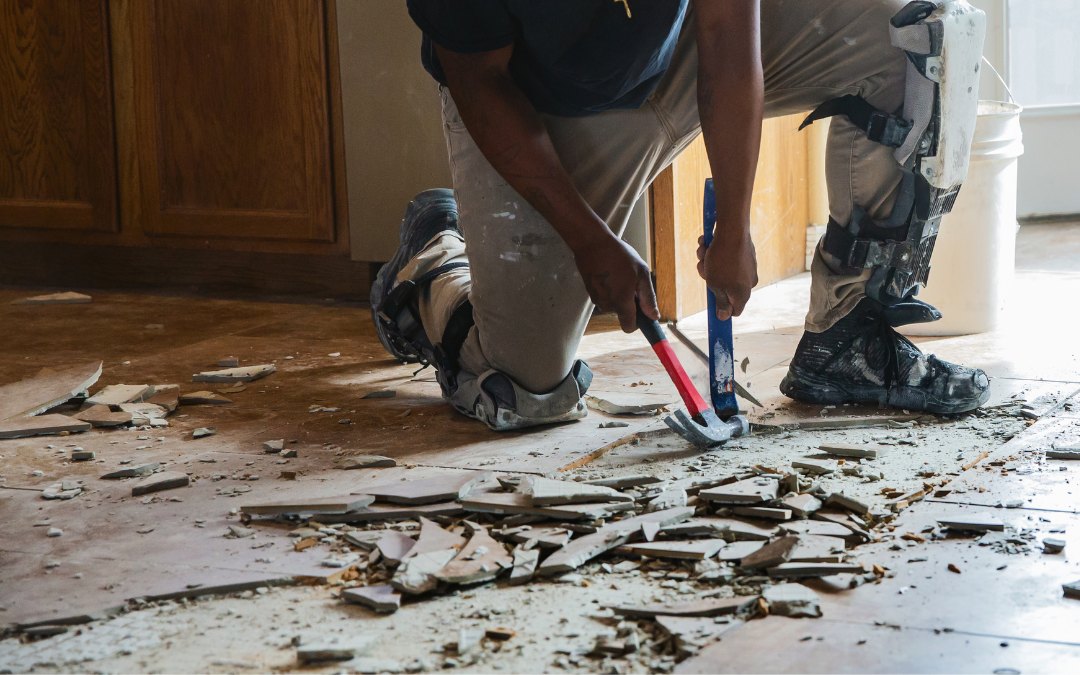
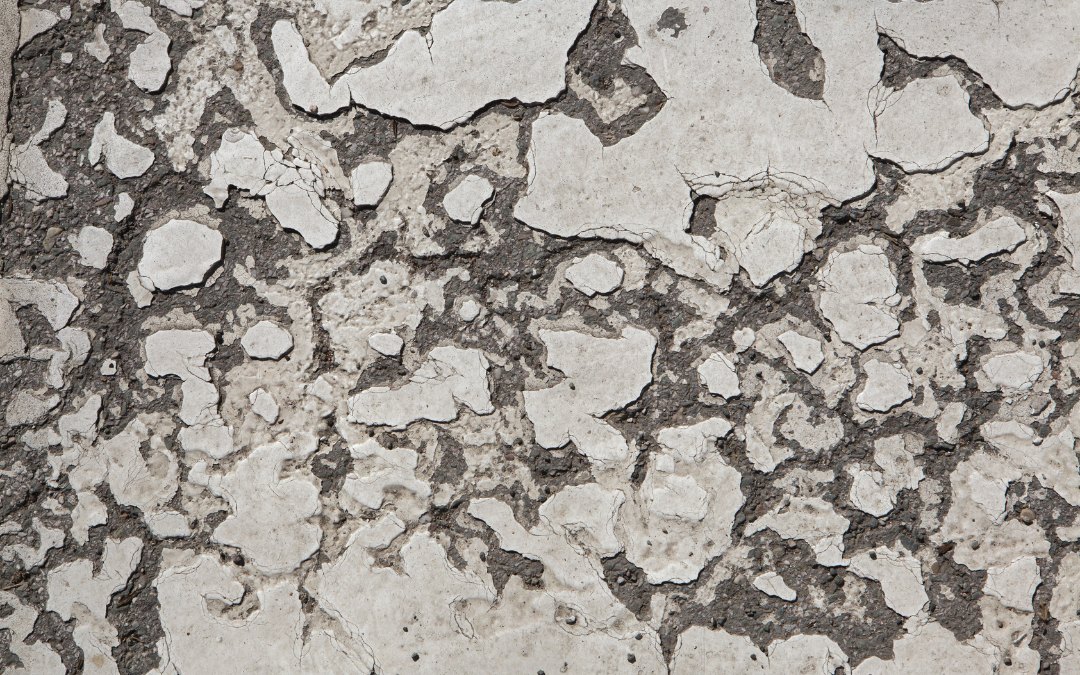
Step 1: Inspect and clear the surface
Start by removing everything from the area. Sweep or vacuum up any dust and debris. If there are cracks, chips, or spalled sections, repair them before you begin. Old paint, sealers, or coatings should also be stripped back using a floor grinder so you’re working with a clean slab.
Step 2: Pre-grind or level the slab if needed
If your surface is uneven or has high spots, give it a light grind first. This helps remove imperfections and makes honing easier. Use a medium-grit diamond disc for this stage and work evenly across the floor. Once the slab is level, you’re ready to start honing.
Step 3: Hone the surface using finer abrasives
Honing uses progressively finer diamond discs to refine the surface. Start with a medium grit and move gradually to finer levels until the floor feels smooth and consistent. You’re not aiming for a glossy finish, just a clean and even matte look. This is ideal for patios, garages, and other high-traffic areas where slip resistance matters.
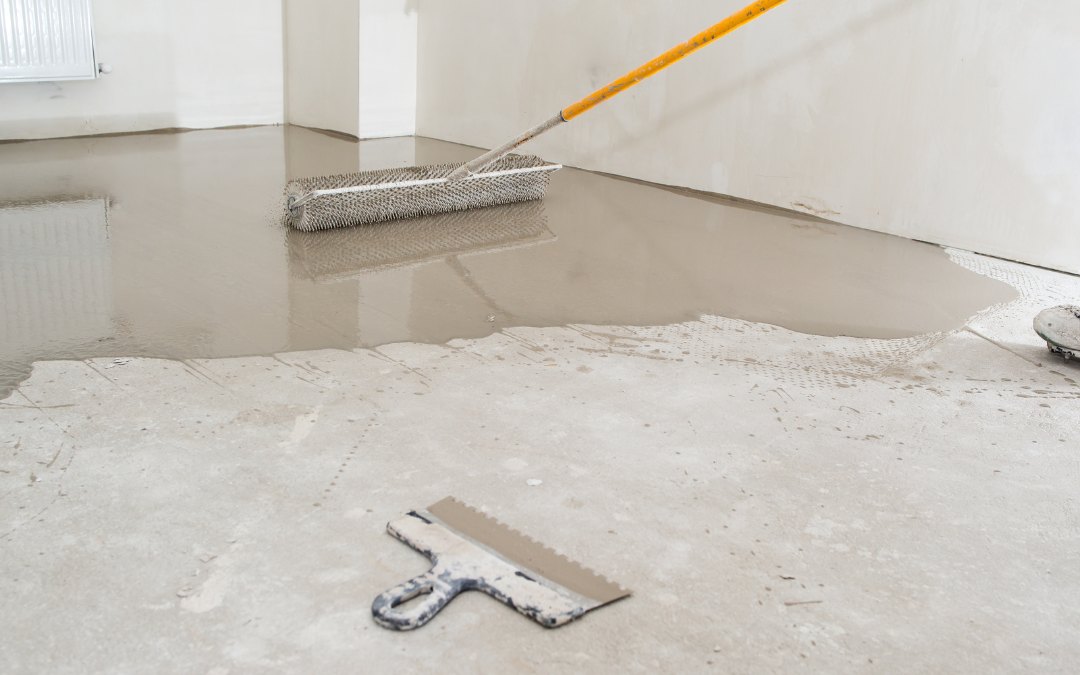
Step 4: Seal and protect the honed surface
Once you’re happy with the finish, apply a quality concrete sealer. This step protects the floor from oil, dirt, and moisture while enhancing the natural colour of the concrete. For outdoor areas, use a penetrating sealer to maintain grip and resist UV damage.
Step 5: Maintain your honed floor
Sweep or vacuum regularly to prevent dust build-up. Mop with a pH-neutral cleaner and avoid harsh chemicals that can wear away the sealer. Reseal the surface every few years depending on traffic and exposure.
Honing is one of the most practical DIY upgrades for concrete floors. It gives a refined finish without the complexity of full polishing and holds up well in both indoor and outdoor spaces. If you’re ready to start, check out our DIY Equipment Hire range or talk to the Concrete Hire team for advice on selecting the right gear for your project.
Equipment Used